This article is a great overview for new to the industry artists looking to understand what software to use and when for color separating. At Freehand we field many questions on this topic. Enjoy.
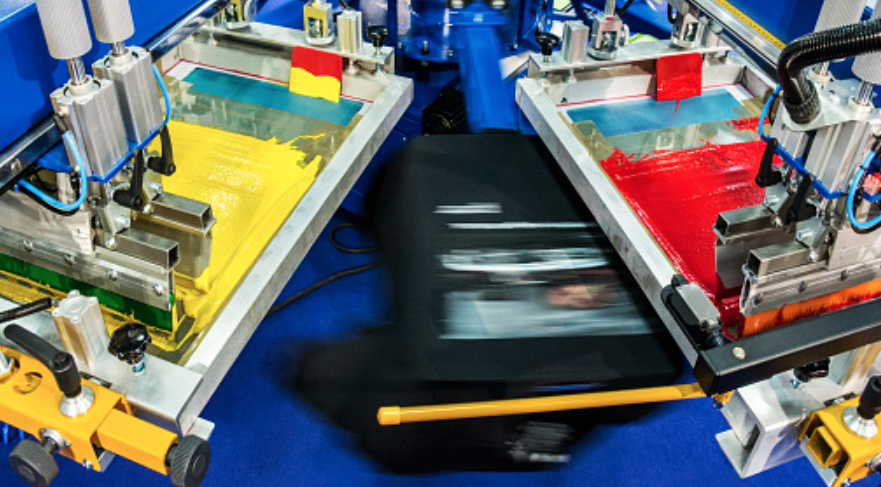
To print a design on a T-Shirt or product the colors that make up the design are first separated. Color separations are a key step of the Screen Printing process. The film separations are used for the critical screen exposure process. The finished screens are registered on a manual or automatic printing press to accurately rebuild the design vision with every pass of a squeegee. Once a painstaking manual process color separation software makes every aspect of the tasks reliable and faster.
What is Color Separation?
After a graphics art file is complete and approved the file may need preparation so that the printing of the film positive separations yield the proper results for direct screen printing, or at a minimum a review.
Color separating for screen printing has a few categories. The top two utilized are “spot color” and “simulated process”. Screen printers output their separations to films using a RIP software through an inkjet printer. This article discusses color separations intended for film output.
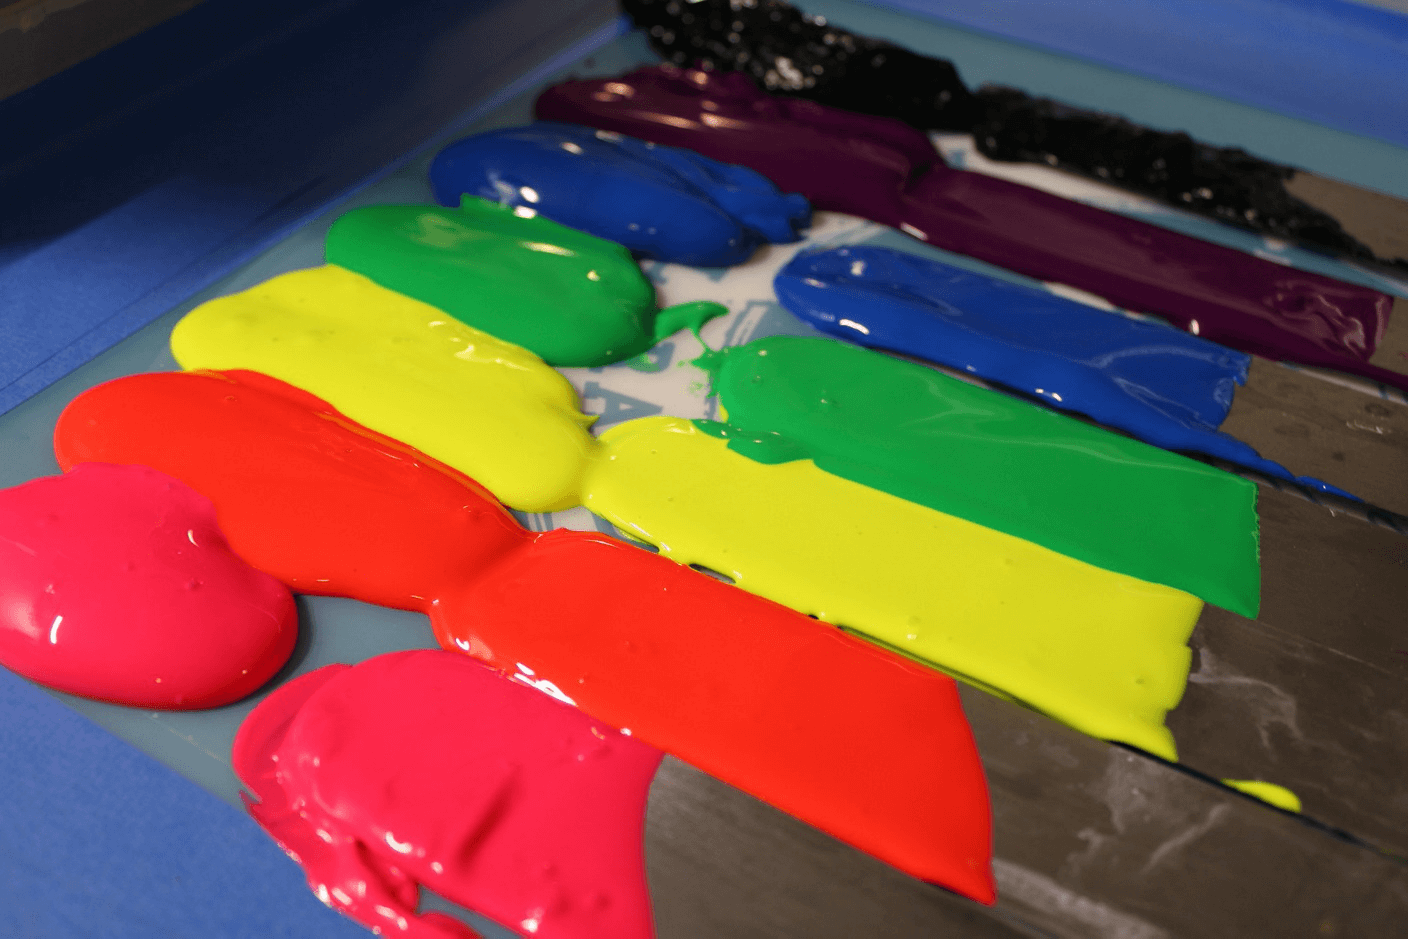
Proper spot color separations result in each spot color in a design to print to an individual film. You wouldn’t want elements that are colored red and yellow, for example, on a single film when creating spot color seps. Imagine you have a design utilizing the spot colors red and yellow. You will want a film for red and a film for yellow to create a screen for red and a screen for yellow. You’ll add red press ink to the red screen and yellow press ink to the yellow screen. This all sounds logical, of course, but users new to screen printing can often unintentionally use “process colors” instead of spot colors when designing in Adobe, Corel and other mainstream graphics programs. The unhappy surprise when printing film positives when the artist mistakingly used one or more process colors is a common one in the industry especially when learning. Since a RIP can’t make that mistake you will look to the file for the error to correct. For the most part our discussion of spot color use is when designing in an illustration program such as Adobe Illustrator and/or CorelDRAW. You can use spot colors in a raster-based image editing program, but we will leave that for another article.
Design programs offer color swatch libraries, allowing you to convert color swatches, and offer custom swatch creation. The takeaway is that a process color red on-screen that hasn’t been converted to a spot color and a spot color red will look the same to your eye, so be diligent when creating designs and reviewing art files.
Remember when you were young and you would mix blue and yellow finger paint to make green paint? Process colors (with very few exceptions) are about colors mixing to produce another color. Avoid process swatches and work exclusively with spot color swatches. We suggest you create and save spot color libraries that correspond to the press inks you use in production. You do have the flexibility to custom mix press inks when there’s a requirement of a job and can therefore create a corresponding spot color swatch in your design program. Separation Studio will auto convert “process colors” to “spot colors” in its vector engine. This feature is designed to save you costly downtime.
It is important to note that a single spot color (i.e. spot color red) applying tints/gradients managed in your illustration software (Adobe, Corel, Flexi etc.) will deliver visual variations (shades) of the single color (1% through 100%) for a more colorful “look” (i.e. reds and pinks) through the application of halftones. The color actually hasn’t changed. You’re still pushing red ink through the red screen. How the eye perceives the color is altered by using halftones. Screen printers require a base (under base) to print professionally on colored substrates. They also need adjustment abilities that aid in color trapping such as choke and spread. The value of a color separation software is easy and quick management of the tasks you need to accomplish.
Color Separation Process: Print Ready Preparation
The color separation process prepares a file to be output ready. Determining the type of color separation system (spot color, RGB sim process, CMYK process, index) depends on the type of image, file format and finally the surface/substrate it will be printed on.
Color separation software provides features and tools to correct, adjust and ultimately break out colors into the proper components needed to accurately reproduce the image on press. What you achieve on press should represent well what the customer viewed on screen as the proof.
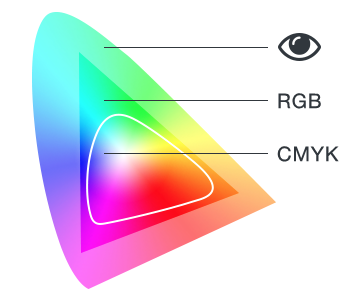
The RGB color gamut is a favorite in the screen print industry. What’s better than working with RGB which is how you view color on your computer screen and then color separating an image into its RGB color components to build back an accurate image reproduction on a screen print press.
The following are different types of color separation processes screen printers use:
Color Separations: Spot Color
Spot color separations are the most commonly used color separation method in screen printing. We discussed the importance of understanding what a spot color swatch is in a design program. Spot color designs can be simple to complex, one color too many. The key factor is that each color uses a single screen and therefore a single film positive. The design can include shading (tints and gradients) which translate to halftones. An Adobe Illustrator file or CorelDRAW file properly designed with only spot color swatches can be one color, a few colors or many. The design must fit a screen print press. Spot color artwork that has too many colors for a press can be adjusted by eliminating colors, reworking colors (i.e two different green spot colors into one green spot color with tints), and changing colors. It also can be separated as a simulated process file thanks to automated color separation software such as Separation Studio NXT. There are options, thanks to design and color separation programs.
Color Separations: Four-Color Process
This color separation process uses four colors – cyan, magenta, yellow and black (CMYK) to print an image. The CMYK process was designed to simulate what an RGB system would deliver. Printing these four colors can create many to most colors found in your image. Color loss is expected as this system’s gamut is much smaller than RGB. Four-color process separations use halftones (dots, shapes) that blend together to create photorealistic images and reproductions of a raster image. This process is best used on white or lighter backgrounds and can be tricky with darker backgrounds because the CMYK inks are translucent. Once a popular separation choice it has been replaced over the last few decades by Spot Process simulated process found in Separation Studio.
Color Separations: Simulated Process (Spot Process)
Simulated process separations use halftones to create images delivering a larger variety of colors thanks to a wider gamut of color. Unlike four-color process separations, simulated process color separations can be used for both light and dark backgrounds because opaque press inks are used. A value of sim process is the ability to use a single set of separations for any color substrate or garment. Exclude the under base when printing on a white substrate. Simulated process separations are also referred to as tonal or channel separations. Due to the widespread use of Freehand’s software Spot Process (released in 1995) and its later versions, the term simulated process has been updated to the term spot process.
Side-by-side you can see the color accuracy difference between a CMYK (process) print and an RGB (simulated process) print. RBG having the broader color range will be more accurate to the on screen image. The type of press inks also means more vibrant prints and easier press production.
Whether working with CMYK or RGB the process of working with halftones is not difficult. The misconception that solid spot color printing is easier than halftone printing stops far too many screen printers from trying printing with halftones.
As an RGB system you will have a defined set of colors used in each color separation. It’s the rainbow. Users of sim process appreciate a standard color set as each image is analyzed for these colors. Sometimes you need them all, but most of the time just some. Color separation software automation offers color reduction (merging) and many other adjustment abilities.
Color Separation: Index Color
Index color separations use blocks of data of the same size, instead of varying halftone dots, to create images. The squares are used for color shading with a limited number of colors, usually the most prominent colors in the image, to try and make it look as close to the original design as possible. Generally it requires a larger press and many colors to rival what Sim Process or Four-Color process can achieve.
Choosing Screen Printing Software for Color Separation Automation
Although successful sim process color separations used to take years of experience to master, and spot color separations created manually could result in wasted film, the right screen printing software will make the color separation process much faster, easier and more reliable for screen printers allowing success even from the first attempt from a novice. Knowing which of the above processes will suit your design best helps achieve the best results.
Spot Process™ Separation Studio™ NXT is the official color separation software for the screen print industry. Now with 2 more engines to add to the software that revolutionized sim process (Spot Process™), users can auto color separate vector and raster separations. Supports direct printing using AccuRIP™ or any other RIP software. The most efficient workflow is design software to separation software to RIP software.
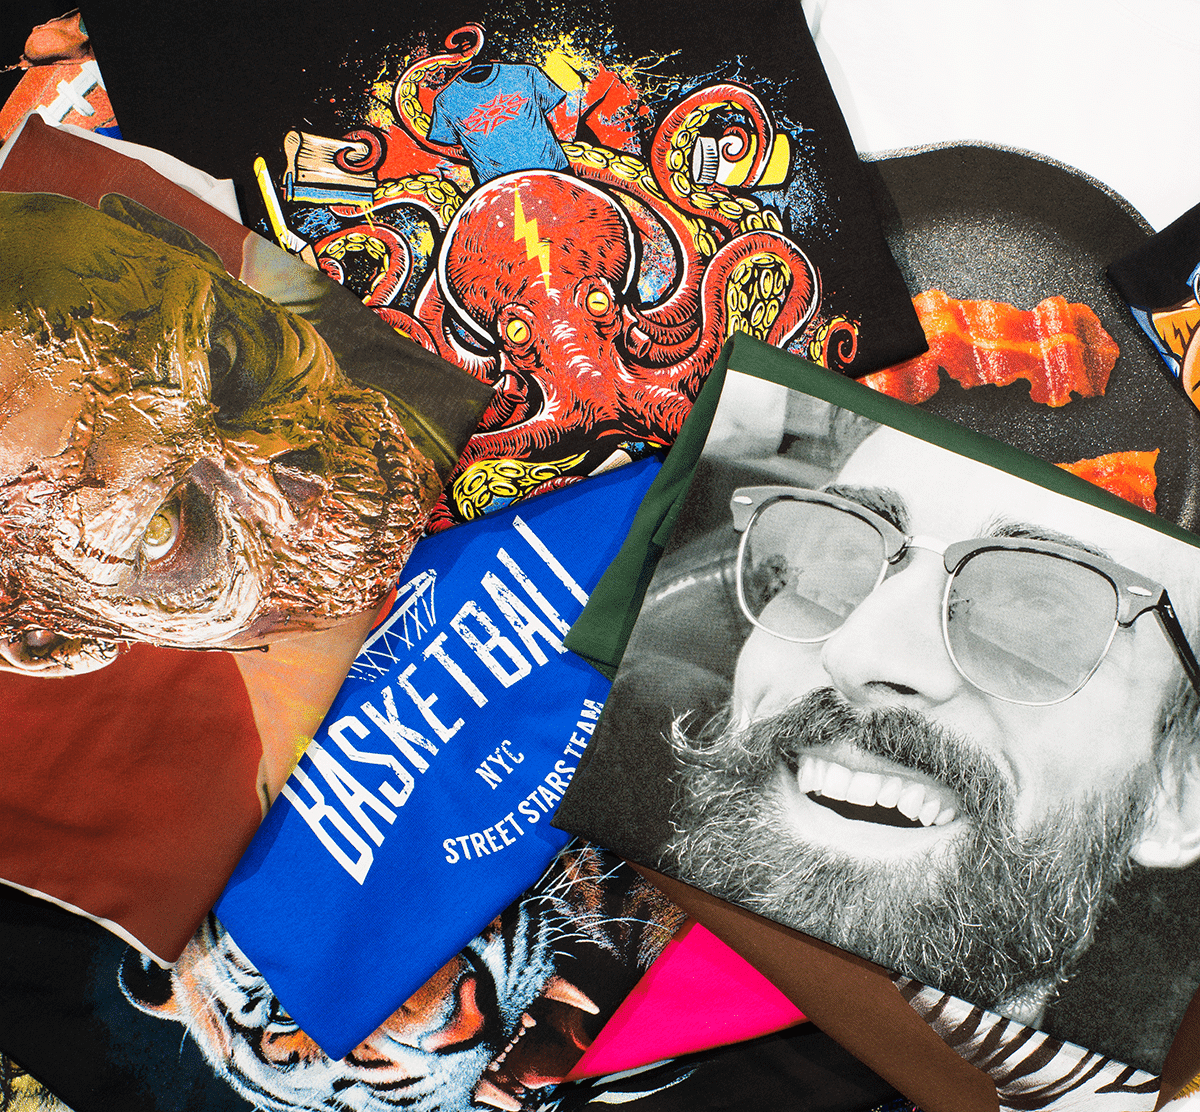

Raster or vector? Software offers options.


Did you know that separation software helps with single color art files – not just multi-color?

Separation Studio software has both a vector and a raster engine for color separating images. With both the ability to quickly determine the number of colors in a press run to accurately quote a job, and the speed to run images through both engines when saved in the required file formats for each engine a user of Sep Studio has pre-separation abilities to save time and money.
Too many colors in a vector file? Convert the image to raster to use the sim process color engines. Separation software offers control over the number of press screens. The Tiki Surfer image above as a vector separated into spot colors can be too many colors for your press. Using Sep Studio software maintains the image integrity while using less press colors.
Is a RIP also a Separation Software?
Here is where the explanation can be a little confusing. Technically speaking a RIP software such as AccuRIP is NOT a separation software while Separation Studio is in that valuable class of software. It is an understandable assumption as users go from file to film using a RIP such as AccuRIP.
A RIP (raster image processor) translates art files (PostScript data) for output through a printer (non-PostScript device). It is an intermediary between art file and inkjet printer. So, if you have an Adobe or Corel file, for example, plus a RIP how is the file color separated? When a file is properly built at inception or adjusted using separation software tools and features then the art file will print through the RIP and correct separations on film will result. That being said, if the file is improperly built and then printed through a RIP the resulting films will be incorrect. You can see that a RIP will not correct a file.
You can manually alter the art file before film printing in graphics programs or use automation and tools in a color separation software to ensure a file is ready for output to film.
The purpose of software is efficiency. Time is money. Automation reduces error. Plus, managing simulated process (raster-based RGB) separations without Sep Studio is ONLY for the highly skilled artists. And, even those elite users will use Sep Studio because it saves countless hours and reduces errors. The value of Sep Studio and vector files is the automation of critical tasks and prevention of errors.
Take a look at the Sep Studio videos and documentation online and enjoy a free, fully-functional trial. Without a doubt you will better your workflow, reduce error and waste and certainly make money quickly. Users often report they are profitable even before completing the free trial.


