Design Work Space
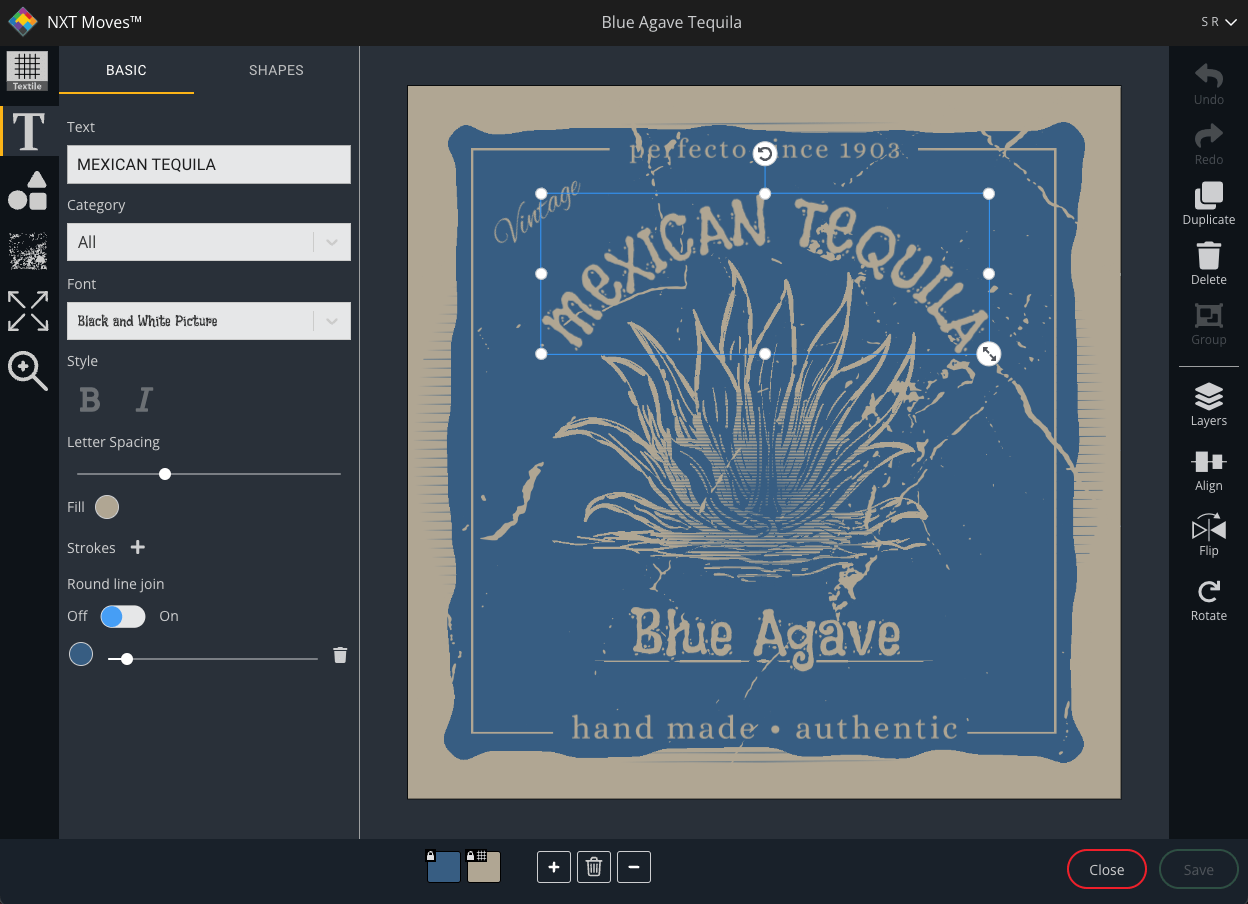
This is the main preview of the art project while being worked on. All tools are centered around this window.
- Displays the opened pre-separated Spot Process® Separations Studio® NXT™ image. Artboard is sized to match the imported artboard size of the original image file.
- Image preview quality is based on the resolution of the file. Better quality previews are displayed for higher resolution files.
- Images, Text, and Symbols support transparency offering freedom to move Layers from the foreground to background.
- Artboard displays Textile color selected. Textile background is non printing. No separations are produced for the background. For display purposes only.
- Artboard dimensions can be altered using the Artboard Size tool.
- Pre-separated Spot Process® Separation Studio® NXT images can not be scaled, distorted, or skewed. Image retains original file scale and resolution to deliver best quality print. Scale and set resolution of images before opening and uploading from Spot Process® Separation Studio® NXT.

Selection Area Control Points
Scale: by default all image, text, and symbol selections will scale in proportion anchored by the control point opposite and diagonal of the selected control point.
Corner control points: keep the selected area in proportion. A scale icon is displayed over the lower right corner control point. All corner points operate the same way.
With Shift Key (Freeform Distortion): hold Shift key then click and drag and corner control point to freeform distort selected area.
With Alt/Option Key: hold the alt/option key then click any “corner” control point to proportionally scale the selected area from the center point.
With Shift and Alt/Option Keys: hold the Shift and alt/option keys then click any “corner” control point to freeform distort the selected area from the center point.
Side and Middle Controls points: click and drag either the “left center side or right center side” control point to scale selection non proportioned. Selection is anchored by the control point directly opposite of the selected control point.
With Shift Key: hold Shift key then click and drag either the center left or center right control point (mouse icon changes to vertical double arrows). Drag mouse up or down to skew selected object.
With Alt/Option Key: hold the alt/option key then click either “vertical side” control point to evenly scale the selected area left and right from the center axis.
Top and Bottom Center Control points: click and drag either the “center top or center bottom” control point to scale selection non proportioned. Selection is anchored by the control point directly opposite of the selected control point.
With Shift Key: hold Shift key then click and drag either the center top or center bottom control point (mouse icon changes to horizontal double arrows). Drag mouse left or right to skew selected object.
With Alt/Option Key: hold the alt/option key then click either the “center top or center bottom” control point to evenly scale the selected area up and down from the center axis.
Rotate: Located at the top center of every selected area is a manual rotate icon. Selected area rotates on the selected area center point. Click and drag displays in the center of the selected area the degree of rotation.
User Tip: Create limitless distortion effects by combining the results of skewing, distorting and scaling selected objects.
Group multiple selections to retain layout arrangements and previous applied effects.


